4 Simple Steps To Measure A Basic High Jump Approach
The approach run is the key to the “flop” style high jump.
The approach sets up a young athlete’s flight path and, if performed properly, allows the jumper to rotate correctly in the air over the crossbar.
A good run-up will also allow an athlete to take off at a distance from the crossbar that results in the peak height of the jump occurring directly above the crossbar. Too close a take-off risks the athlete hitting the bar on the way up. Too far away from the bar can lead to the athlete hitting the bar on the way down.
A “flop” high jump approach follows a basic J-shaped curve where the first few steps of the run-up are performed in a straight line and the last few are performed on a smooth curve.

A “flop” approach follows a J-shaped curve
The straight part of the run-up is used to build up speed, and the curve is used to build up forces that will allow the athlete to rotate correctly over the bar.
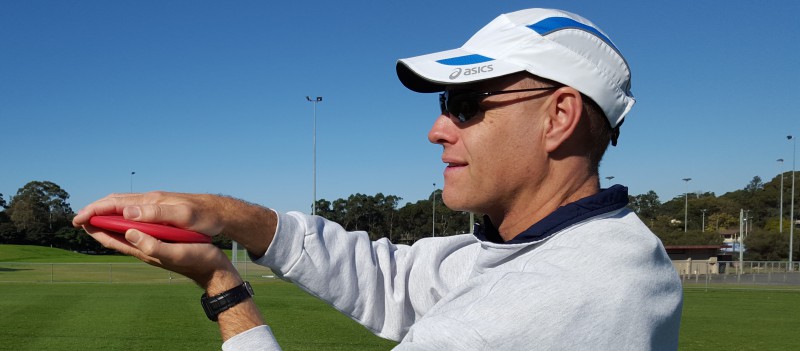
An 8 to 12 stride approach is suitable for most young athletes. My preference is a 9 or 10 stride run-up. An athlete will use a 9-stride approach if they start with their take-off foot behind at the beginning of their run-up. They will use a 10-stride approach if they start with their take-off foot in front.
Measuring Out a J-Curve High Jump Run-Up
There is no definitive or best way to measure out a high jump run-up. All coaches and athletes will have their individual preference. The steps outlined below will act as a simple starting point for a young athlete.
The following sequence assumes that the athlete has already worked out whether they will be running in from the left or right-hand-side of the landing mats. (An athlete taking off from their right foot will approach from the left side. An athlete taking off from their left foot will approach from the right side).
Step 1
Standing with their back to the nearest upright, the athlete takes three normal walking paces directly away from the upright in a direction that is perpendicular to the crossbar.

Take 3 paces away from the upright.
Step 2
The athlete turns 90 degrees outwards and takes two normal walking paces in a direction that would be parallel to the crossbar.

Take 2 paces outwards
Step 3
The athlete turns 90 degrees away from the landing area and takes another four normal walking paces. They place a check mark at this point.

Take another 4 paces away from the mats
This should place the athlete at the starting point for a 5-stride curved approach to the bar. This also marks the point at which the athlete will begin the curved part of their run-up when using a full-length approach.

A 5-stride approach
Step 4
To measure out a full 9 or 10-stride run-up the athlete simply runs another 4 or 5 strides away from the landing area and marks this as the run-up starting point.
The full approach begins with 4 or 5 strides in a straight line and then the final 5 strides on the curve. The athlete should run around the outside of the check marks.

A full 9 or 10-stride approach
The athlete and/or coach can then adjust the run-up starting point and check marks as required.
Summary
- Take three paces away from the nearest upright.
- Turn 90 degrees and take two paces outwards.
- Turn 90 degrees and take another four paces away from the landing mats.
- Run another 4-5 strides away from the mats.
Do you have any high jump run-up measuring tips?
I would love for you to share any other methods or tips that may help young athletes measure out their high jump run-up. You can do this by leaving a reply/comment or by using the below contact details.
Further reading
Articles:
4 Ways to Ruin a High Jump Run-Up
If this post helped you please take a moment to help others by sharing it on social media. If you want to learn more I encourage you to leave questions and comments or contact me directly.

Darren Wensor is a sports development professional, coach educator, specialist coach of young athletes, and founder of the blog coachingyoungathletes.com. Learn more about him here and connect with him on Twitter, Facebook, Linkedin, or via email. Check out Coaching Young Athletes on YouTube, the Coaching Young Athletes podcast, and the Coaching Young Athletes E-Book Series.

Whilst I agree with the basic measurements of the j curve, I believe that the way in which you get to that point will always give variations/errors. I would always have the athlete pace/walk/whatever away from the upright to a final point rather than zig zag your way there. (eg. 3 out, 2 across, 4 out …. would just be 7 out, pivot and make sure you have walked out perpendicular to the bar/upright and adjust as necessary and then 2 across). The same with your final run up that you have settled on. I use heel to toe steps (as these are always very consistent in length compared to “walking steps” etc.. So my final run up my be something in the vicinity of 40 out, pivot and check/adjust and 8 across.
LikeLike
Thanks for your input Lindsay. What you say makes sense. When I was first shown the “3-2-4” method, I was told that some coaches like to angle those final four paces a little bit wider out than perpendicular to the bar, hence, I suppose, the reason for the “3-2-4”, rather than straight out, then across. Heel-toe steps are also a great idea, which I would probably advise once the athlete has settled on a run-up starting point that they feel comfortable with.
LikeLike
This was very helpful especially for beginners , its easy to coach and easy to make adjustments accordingly simple and to the point.
LikeLike
I have volunteer coached HJ at the HS level for a bit over 20 years, and have used various methods for determining the starting point for the approach. The one I have found that works best takes some initial preparation and numerous people to accomplish, but consistently works the best…and cuts WAY back on the amount of time it takes to adjust each athlete’s approach. Since using this method I spend much less time making adjustments and can move on to the post-approach phases more quickly…which is very beneficial in a ‘winter’ state like MN where we have a hard time getting outdoors to practice until the season is just about over! Check out this link. I HIGHLY recommend using this method for determining the approach intercept and starting points. http://speedendurance.com/2015/05/29/add-2-inches-to-your-high-jump-with-the-intercept-point/
LikeLike
Thanks Mark. I will have to give it a really good read. Darren
LikeLike