
Choosing the Right Start for Every Session
When coaching kids, one of the most critical moments in any session is the warm-up. It’s not just about getting kids moving, but about setting the right tone, energy, and focus for the learning experience ahead. The traditional approach of always using high-energy warm-ups may not always be the best choice. Let’s talk about the nuanced art of selecting the perfect warm-up strategy.
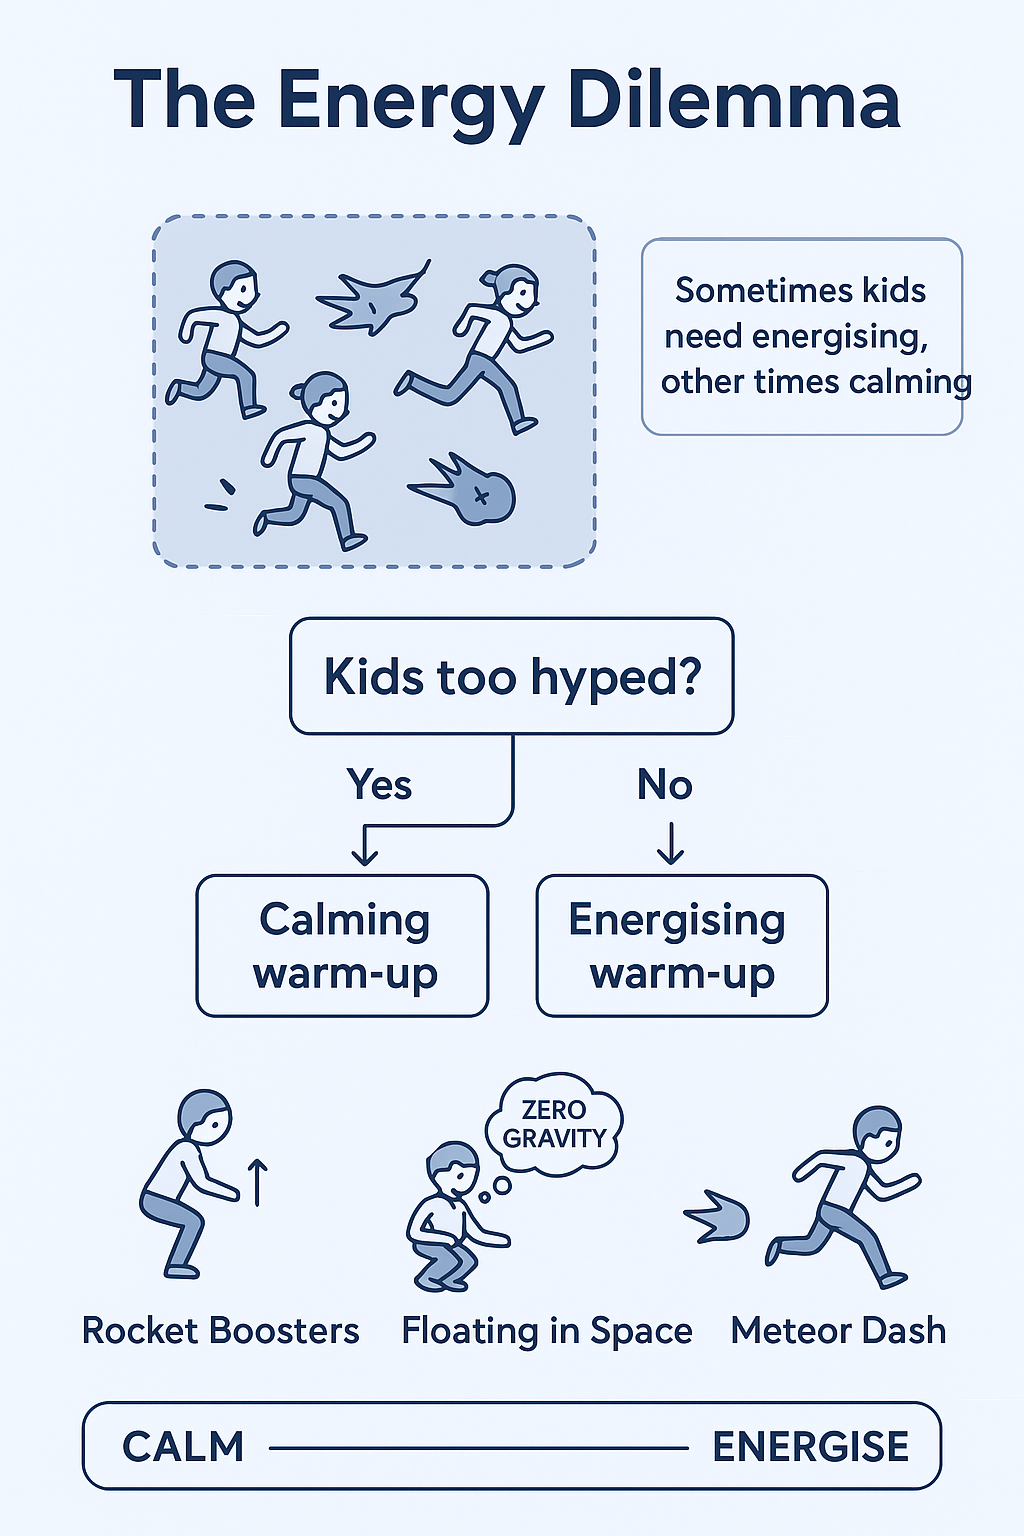
The Energy Dilemma
While we typically think of warm-ups as energetic and exciting, there are moments when a calming approach is more beneficial. Imagine a group of children already buzzing with excitement. An initial high-energy activity could push them over the edge, making it impossible for them to focus or follow instructions and leaving the coach with some hard work to bring them back on track.
The Coach’s Toolkit
Coaches should come prepared with a dual approach for the warm-up:
- Energising warm-ups to engage and activate
- More calming or contained warm-ups to settle and focus
The key is your observation and flexibility. Before the session begins, take a moment to read the room. Are the children overstimulated? Are they lethargic? The right warm-up can be a powerful tool to bring them to an optimal state of readiness and engagement.
Factors to Consider
Choosing the right-paced warm-up isn’t random. It’s a strategic decision influenced by multiple factors, including:
1. Children’s initial energy levels
Watch the kids as they arrive and how they are interacting with each other. Do they look like they are ready to listen and learn? Or are they showing signs of potentially being disorderly and disruptive?
2. Session objectives
What session outcomes are you seeking? Are you aiming to deliver a session that burns up lots of the kids’ energy or is it a session designed around learning some new skills? Match your warm-up to your session objectives.
2. Environmental conditions
Don’t underestimate environmental conditions. Cold weather might require more active warm-ups to increase body temperature, while hot conditions might call for more controlled, less intense activities.
3. Safety and cooperative behaviour requirements
What is the session content? A throwing-based session requires tight control to keep it safe and therefore a more calming low-key warm-up may be appropriate to set the scene. A running-based session may need less strict control and therefore a higher energy warm up may be appropriate.
4. Your participants
Be sensitive to the needs of neuro diverse participants for whom a rowdy, chaotic warm up may cause distress and disengagement.
5. Previous experience with the group
If you have past experience with the group, use what you have learned about their demeanour to guide how you begin your session.
Energising Warm-Ups
This type of warm-up often features:
- Quick movement challenges
- High-energy group games
Calming Warm-Ups
A calming warm-up may involve:
- Slower-moving games
- Listening and follow-the-leader games
- On-the-spot warm-ups
Examples of Energising and Calming Warm Ups
Energetic Warm-Up Game: “Meteor Dash”
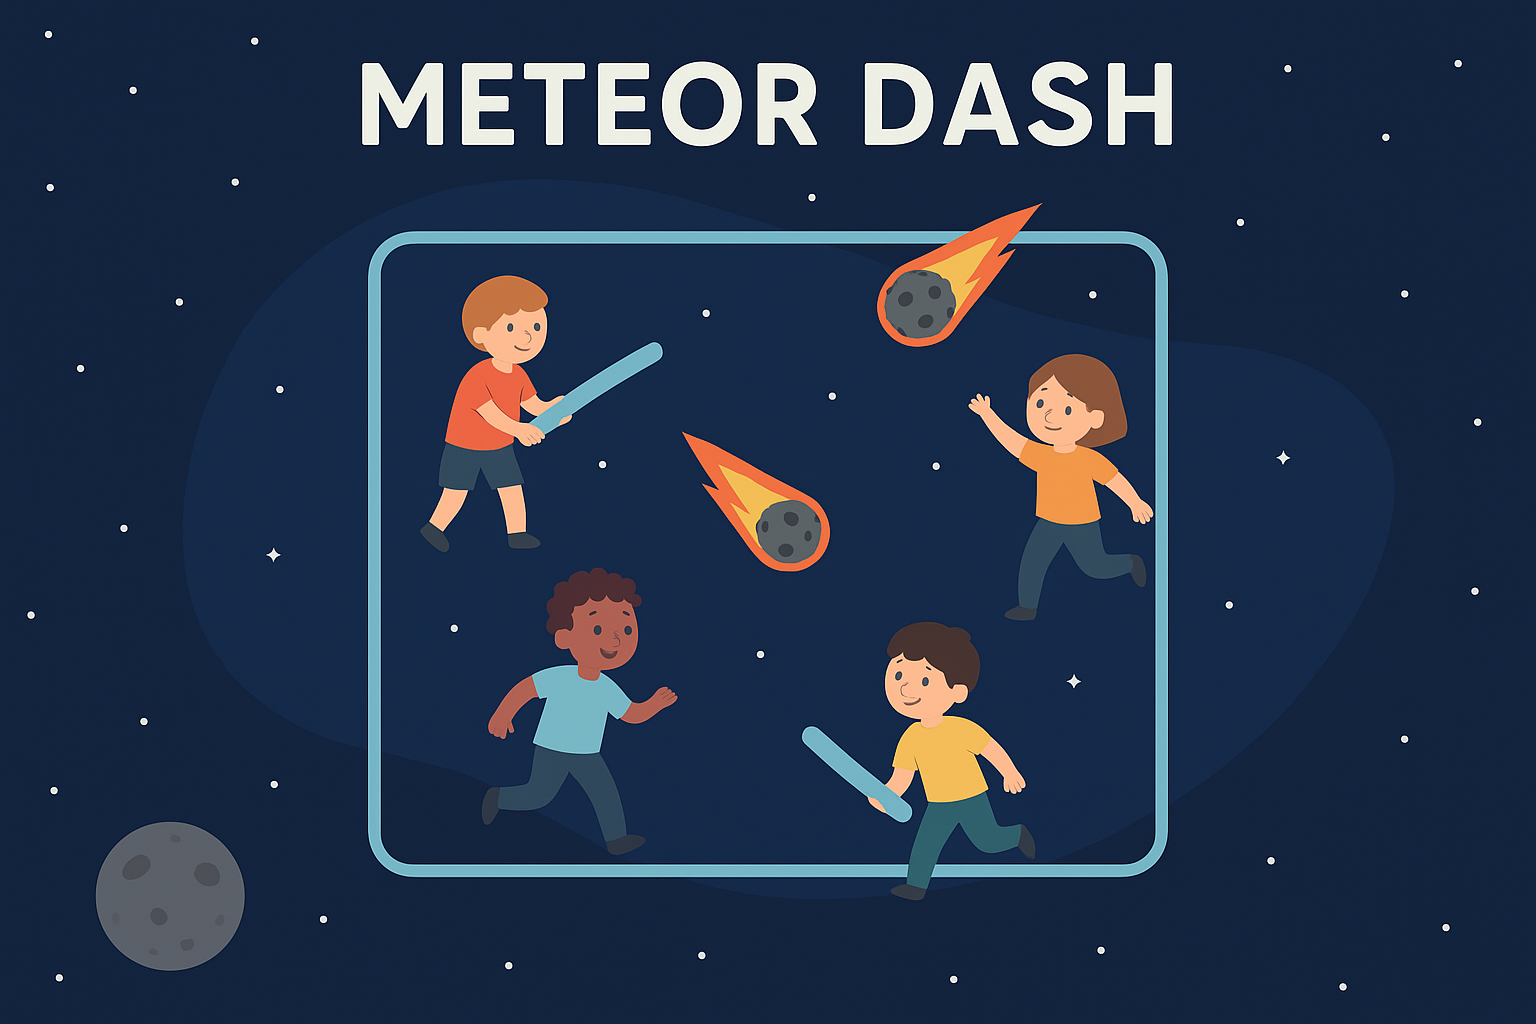
Theme: Dodge meteors while zooming through space!
Objective: Build excitement, get hearts pumping, and improve spatial awareness.
How to Play:
- Mark out a rectangular “galaxy” (playing area).
- Choose 2–3 players (or adult helpers) to be “Meteors” to start. They hold foam noodles.
- The rest of the players are “Space Explorers” trying to explore the galaxy.
- On “Blast off!”, Explorers move around while the Meteors try to gently tag them.
- If tagged, a Space Explorer must freeze in a space pose (e.g., star jump or astronaut salute).
- To get unfrozen, another Explorer must tap them and make a space sound (like “Zoooooom!”).
- Rotate Meteors every few rounds.
Calming Warm-Up Game: “Floating in Space”

Theme: Gently drift through the galaxy like you’re in zero gravity.
Objective: Calm the group, build body awareness.
How to Play:
- Players spread out in the space.
- The leader narrates: “You’re astronauts floating outside your spaceship. There’s no gravity here, so everything you do is slow and smooth…”
- Ask them to move like they’re in space:
- Slow-motion walking
- Reaching for stars
- Turning with exaggerated slowness
- Landing on an imaginary moon
- Finish with: “Your mission is complete. Return to your ship and rest in your seat. You’re ready for your next space adventure.”
See the difference?
If you think that the group is too hyped to cope with a game and its associated rules, maybe a few on-the-spot individual activities may be the answer. Such activities are quick to organise and explain and there is no need for the kids to have to engage with one another.
On-the-Spot Warm-Up Challenges for Spaceship Squadrons
1. Rocket Boosters
Prompt: “Activate your rocket boosters! Bend and explode upwards like you’re taking off from Earth!”
Movement: 3 squat jumps in a row, arms reaching skyward.
2. Moon Rock Balance
Prompt: “Uh oh, your ship has landed on unstable moon rocks! Hold your balance like a pro pilot.”
Movement: Stand on one foot, arms out like wings. Try to balance for 10 seconds.
3. Satellite Spin
Prompt: “Let’s test your spaceship’s spin mode!”
Movement: Slowly rotate your upper body with arms outstretched like a spinning satellite.
4. Comet Dodger
Prompt: “There are comets flying past! Dodge left, dodge right, duck low!”
Movement: Jump side to side, duck, or tilt sideways on the spot when the commander calls a direction.
Can I just skip the warm-up?
It’s not my preference, but yes – you can skip the warm-up altogether and get straight into the first activity if you consider it the best option (I have done it!).
The Coaching Mindset
Ultimately, the most important coaching skill here is adaptability. Aim to be:
- Observant
- Quick-thinking
- Prepared with multiple options
- Focused on the children’s needs
By having both energising and calming warm-ups in your arsenal, you can quickly pivot to meet the moment’s specific requirements. This approach ensures that children are not just physically prepared, but mentally ready to engage, learn, and enjoy the session.
Conclusion
Warm-ups are more than just a preliminary activity. They are a critical tool for setting the stage for effective learning. By understanding the nuanced approach to energising and calming strategies, coaches can create more engaging, productive, and enjoyable experiences for young learners (and themselves!).
Reflective Questions for Coaches
- How do I usually start my sessions: energising or calming?
- Have I ever adjusted a warm-up mid-session? What happened?
- Which group do I coach that tends to need calming more than energising?
- What two warm-ups could I prepare for my next session so I’m ready to pivot?
Practical Coaching Challenge
At your next session, come prepared with one energising and one calming warm-up. Read the room, pick the best option, and reflect afterward: did it help set the right tone?
Further Reading
3 Of The Best Warm Up Games For A Sensational Start To Your Session
3 More Of the Best Warm Up Games For A Sensational Start To Your Session
If this post helped you please take a moment to help others by sharing it on social media. If you want to learn more I encourage you to leave questions and comments or contact me directly.

Darren Wensor is a sports development professional, coach educator, specialist coach of young athletes, and founder of the blog coachingyoungathletes.com. Learn more about him here and connect with him on Twitter, Facebook, Linkedin, or via email. Check out Coaching Young Athletes on YouTube, the Coaching Young Athletes podcast, and the Coaching Young Athletes E-Book Series.
Click here to subscribe for free to the Coaching Young Athletes email list and receive a complimentary mini e-book!
Love what you have read? Behind every article on Coaching Young Athletes lies hours of dedication and passion. Click below to make a one-off donation and help keep the blog going strong. Your generosity makes a difference, no matter the size. Thank you for your support!
Choose an amount
Your contribution is appreciated.
